


DIY pumpkin decorating may or may not be my thing! I love to DIY stuff. Sometimes it looks great and other times, not so much. I had planned this post to be one of those great posts you see where someone turns plain into beautiful. Feel free to read on for what REALLY happened!!
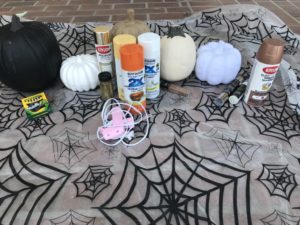
I chose to test out a few different materials for my pumpkins. All my DIY pumpkin shopping was done at JoAnn’s but you can get a lot of this stuff at other craft shops. I had 2 plastic ‘carveable’ pumpkins, one white and one brown cardboard one, and a polystyrene one. The spray paint, glitters, foiling materials, and glue gun are things I had at home from previous projects (they mostly came from Hobby Lobby). I love a good project!
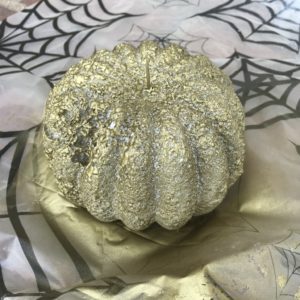
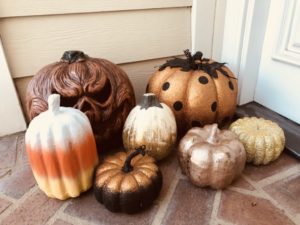
Pumpkin 1 – Gold Foiled
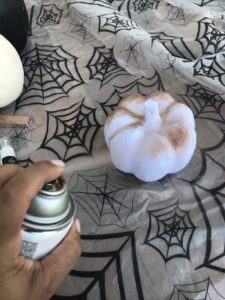
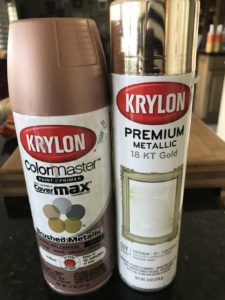
Spray the pumpkin with your colour of choice. I used Krylon ColorMaster brushed metal in the Sparkling Canyon shade. Leave the spray paint until it is touch dry. It took about 30 minutes in the SoCal heat.
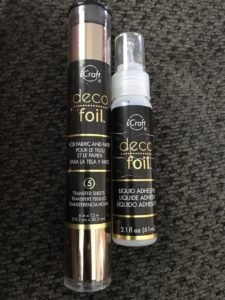
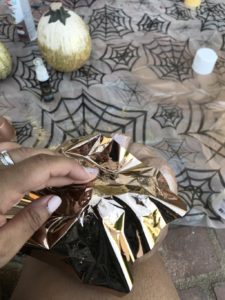
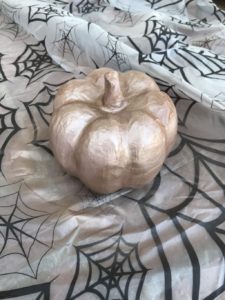
Paint a thin layer of Decofoil liquid adhesive and let that dry. Once dry, use the foil sheets and cover your pumpkin with as much foil as you desire. I love bling so I went to town! My Decofoil is the Rose Gold shade but they do offer other colours. All shiny and delicious!
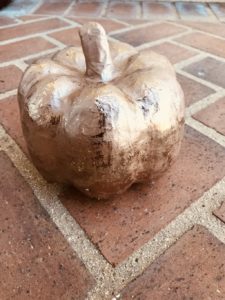 It’s hard to capture the foiling but it’s seriously beautiful. I count this one as a win.
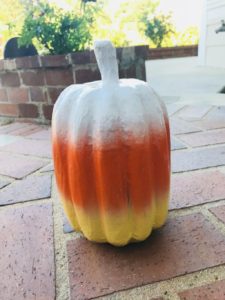
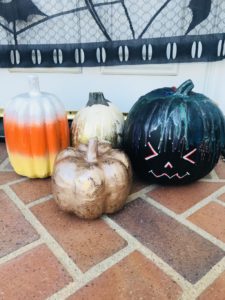
Pumpkin 2 – Candy Corn

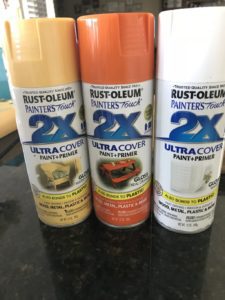
I dropped the ball a bit on this one and forgot to take photos of all my steps. Oops. I sprayed the whole pumpkin white using Rustoleum Painters Touch Ultra Cover spray paint. I left it to dry for about 15 minutes and then sprayed a band of orange (shade: gloss red orange) in the middle. Once that was dry, I sprayed a band of yellow (shade: gloss warm yellow) at the bottom. The great thing about these Rustoleum paints is that they are outdoor safe. This means no need for a top coat which is handy. This was by far the easiest of my pumpkins and one of our favourites. It just looks so cute. Another WIN!
Pumpkin 3 – Wax Crayon Rainbow
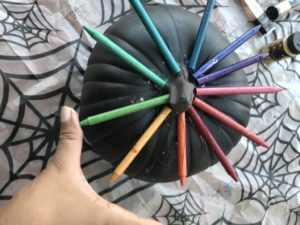
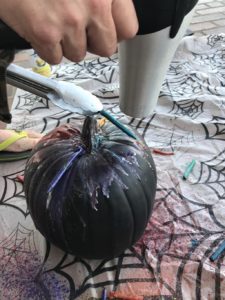
 This is where things started to go awry. I saw this cute idea on Facebook where you glue wax crayons onto your pumpkin and then melt them with a hair dryer. Cute and easy, I thought. I was wrong. First I couldn’t get the crayons to stick to my pumpkin. My hot glue gun made the crayons melt. Eventually I had (limited) success by leaving the glue to almost dry before sticking them on.
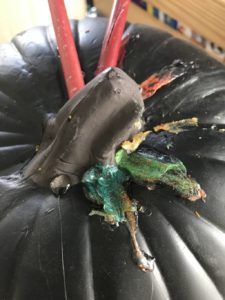
 In case you are wondering; yes I am holding the green crayon on. Maximum craft rage had hit at this point…
 Once I had finally got the crayons stuck we started melting them. All the Pinterest and Facebook artices I had seen on this made it seem easy. FYI it’s not. Crayons flew off the pumpkin, melted wax burned my legs and the aftermath looked like a crayon murder scene.
We eventually resorted to holding the crayons with kitchen tongs which we had (limited) success with.
The important message here though is I didn’t give up. Even when my husband laughed at me and my 6 year old told me my pumpkin looked funny. I’m not a crafting quitter.
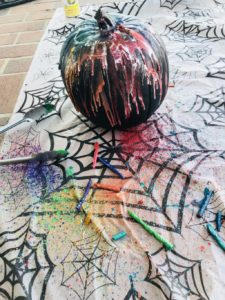
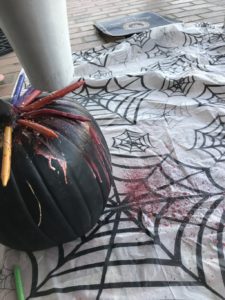
It’s unfortunate that my protective cloth looks much prettier than my pumpkin. You win some, you lose some.
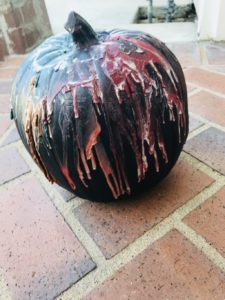
We gave up and drew a face on it in the end. I’m going to count this one as a fail. I’m ok with that!
Pumpkin 4 – Spray paint melts polystyrene
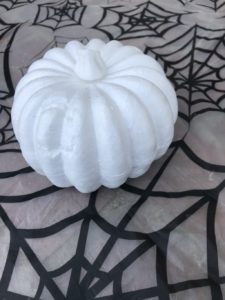
I think this one speaks for itself. Spray paint and polystyrene DO NOT mix. In the end we covered it in glitter which greatly improved the ‘rustic’ look on this one. You know what they say. “you can’t polish a turd, but you can roll it in glitter.” And if you are wondering, yes, that is a bite mark. The 4 year old who love to eat hoped it was food! We counted this one as a FAIL too.
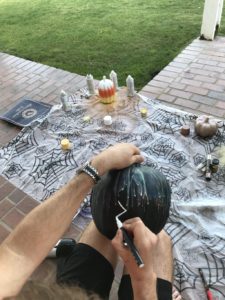
Pumpkin 5 – Glitter Ombre
By the time I moved onto pumpkin 5 my crafting confidence was at an all time low! Essentially I just threw Elmer’s glue and glitter at my final pumpkin!
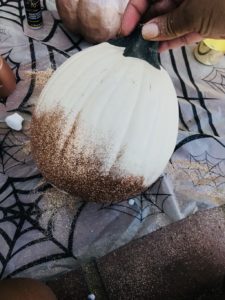
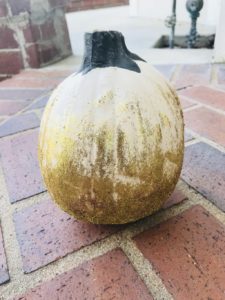
I covered the bottom third in glue and then sprinkled rose gold glitter all over it. Then I ran out of rose gold. AWESOME. Luckily my life is always full of glitter so I went to get my gold glitter. I used a brush to pat and brush it on the give it this vintage ombre type look. I can’t decide if this is a win or a fail. Usually it would be FAIL, but you know, then there was the crayongate pumpkin soooo…. WAIL?
The Finished Crew
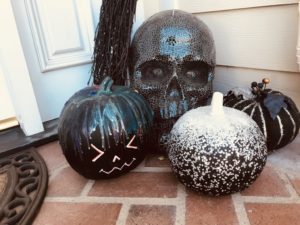
And here they all are. My DIY pumpkin family join the rest of my porch pumpkins. I love how they look and I think next October I will get them something to sit on!


